Overlook the fundamentals before installing your levelling compound and the perfect finish will be ruined, warns Setcrete Brand Manager, Peter Wilson.
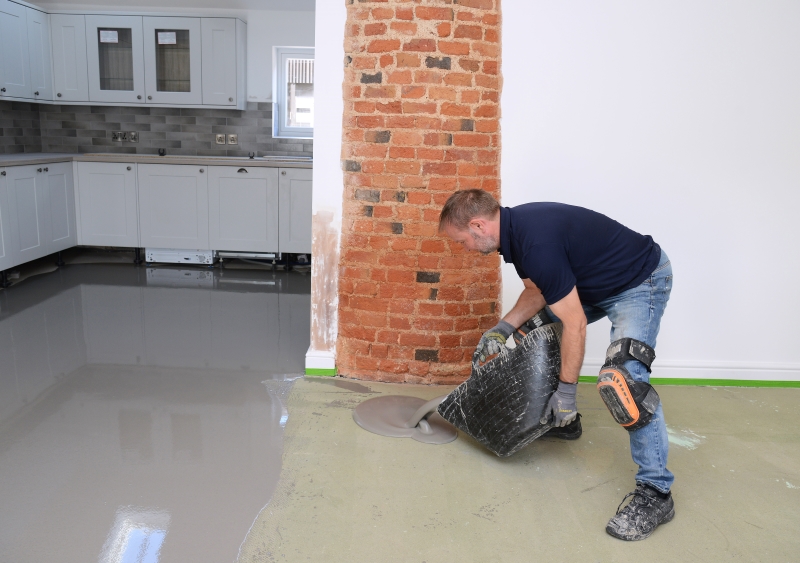
It is always advised to apply a levelling compound before installing any type of flooring to optimise the finished appearance and longevity of the installation and it is essential before the installation of thin, resilient floorcovering such as luxury vinyl tiles (LVTs), which continue to see huge growth in demand.
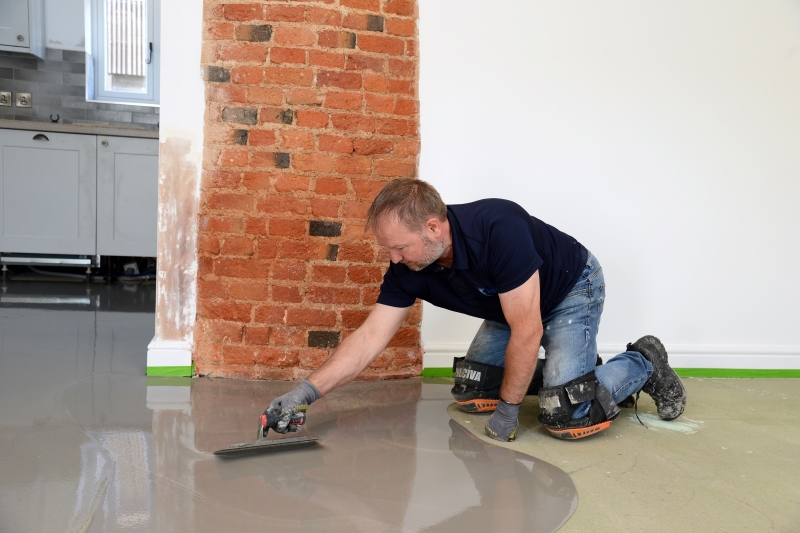
The levelling compound ensures that indentations, undulations, high spots or other blemishes in the subfloor are ‘ironed out’, thereby optimising the visual appearance of the floorcovering. Without using a levelling compound, these imperfections may show through the vinyl or other floorcovering, ruining its aesthetics.
However, there are some key things to address to make sure the levelling compound produces the lovely smooth finish you are looking for and some simple steps to follow to ensure the integrity of the installation is not compromised.
1. Moisture check
As with all installations, the first job is to check for excess subfloor moisture using a suitable moisture meter. If the reading is above 75% relative humidity (or above 65% for wood floors), a moisture management solution must be applied. Excess subfloor moisture can be the result of residual construction moisture on new builds or a breached or absent DPM on older buildings.
2. Laitance
As newly laid screeds cure, a crust or thin layer of fine particles will form on the surface. This is known as laitance. It is weak, with a crumbly texture and must be removed before a levelling compound is applied. Otherwise, the laitance will either debond or break up, as will the levelling compound that is laid over it.
On refurbishment projects it is equally important to check that the subfloor is sound and dry before proceeding and any loose material is fully removed and the surfaced vacuumed. Any contamination, including oil, grease or paint should also be removed. If the subfloor surface is found to be weak or suffers from cracks, take advice from the levelling compound manufacturer’s technical advisors on how best to proceed.
3. Pinholing
During the curing process, a levelling compound can sometime suffer from what is known as pinholing; small craters or pock marks on the surface. Apart from affecting the appearance of the finished result, pinholing can also compromise the structural integrity of the levelling compound, potentially causing floor failure.
Pinholes are formed by air escaping from absorbent subfloors (such as concrete or sand/cement screeds) as the levelling compound is applied. Air bubbles form in the mixture and rise to the surface where they pop. While the compound is still liquid, it will naturally fall back into the hole that the air bubble leaves behind. However, as the levelling compound sets its increased viscosity prevents the mix from backfilling the holes, leaving tiny craters or pinholes in the surface.
While pinholing can be rectified by sanding and using a fine floor finishing compound to deliver an ultra-smooth finish, it is an added, time-consuming procedure that you can easily avoid.
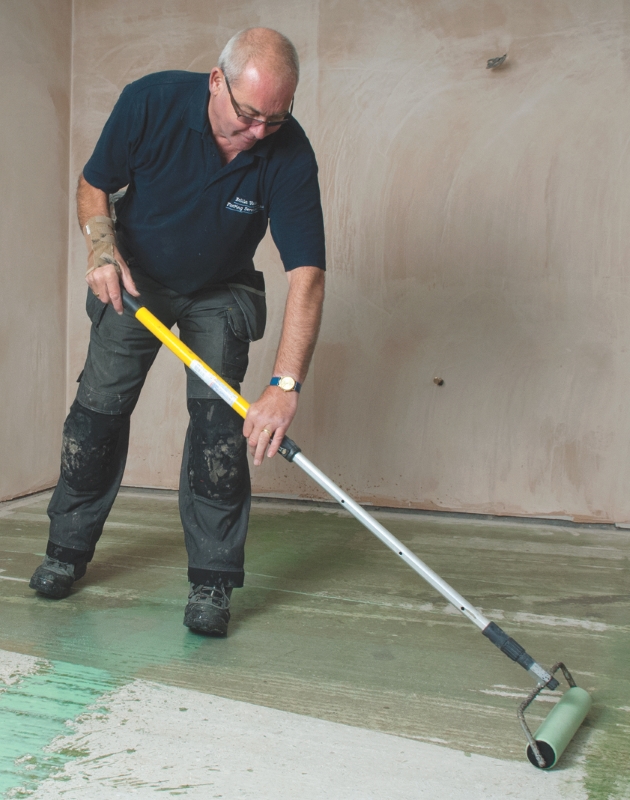
4. Priming
Pinholing normally occurs in this situation because the screed was not primed beforehand. Priming creates a barrier to prevent the air from escaping the subfloor, thereby eradicating the problem.
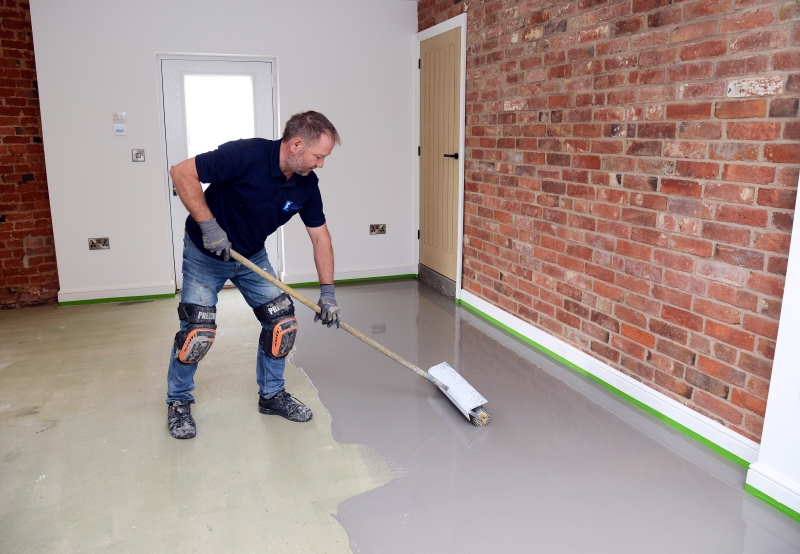
Air can also be introduced into a levelling compound during the mixing process, for example, mixing on a high–speed setting or, sometimes, because of the type of whisk fitted. Using a spiked roller on the levelling compound after application will help to release trapped air while the mix is still liquid and will also help to deliver a perfectly uniform finish for the levelling compound across the entire floor area.
A further benefit of priming is that it avoids the unacceptably rapid drying of the levelling compound by preventing absorbent subfloors from drawing water out of the mix, which can weaken it. In addition, the primer will help to promote the flow characteristics of the levelling compound and promote adhesion between the levelling compound and the subfloor.
Improving adhesion performance is, also, particularly important for non-absorbent surfaces, such as previously installed (and firmly adhered) ceramic tiles, which, being smooth, don’t naturally provide a receptive surface for a levelling compound to key into.
5. Horses for courses
Finally, don’t get caught out using a general-purpose levelling compound, when a high-performance product is needed.
For most applications over sand/cement screeds, a general-purpose, light to medium duty levelling compound is fine. However, certain subfloors such as plywood, for example, need a special purpose levelling compound. In this application a fibre reinforced, flexible levelling compound is required that is able to accommodate slight movement in the subfloor as it is walked on, avoiding the potential for the levelling compound to crack. It is also important to make sure the plywood is firmly fixed using appropriately spaced screw fixings.
You may also want to consider specialist fast-track or heavy-duty compounds if time is a pressing issue or the floor is likely to be subjected to high levels of footfall or be used to wheel heavy equipment around.
So, to optimise the appearance and integrity of your levelling compound installation, check the subfloor to make sure it is sound, clean and dry, apply the maxim: ‘it’s a crime not to prime’, and consider if you need a specialist levelling compound to suit the subfloor material or the type of usage it will encounter.
For further information on Secrete visit https://setcrete.co.uk/


