
Grab a brew and let’s talk tanking with Shaun Hunt, wetroom installation guru and long-standing technical training lead from Impey
Waterproofing, or tanking as it’s known in the trade, is the process which will ensure that your wetroom installations remain leak-free for the duration of their lifespan. The most vital step in the wetroom installation process, it is vital to choose a high-quality, durable, and long-lasting tanking product, which will give you the peace of mind to ‘fit and forget.’
What is tanking?
Tanking is the unsung hero of wetroom installations; the process that keeps the water exactly where it should be. No matter how good your tiling game is, if water gets through the cracks and into the structure, it’s game over.
That’s why waterproofing a wetroom is absolutely non-negotiable and finding a product that makes tanking quick, simple and reliable will keep your customers happy and offer you ultimate peace of mind to ‘fit and forget’!

The must-knows of wetroom waterproofing
For the purposes of this guide, we will be discussing how to install Impey’s WaterGuard Tanking Kit in a typical wetroom installation on two walls and a wooden floor. Remember that any installation should be carried out with full reference to the supplied instructions from your manufacturer!
Step 1: Prep Like a Pro
Good preparation of the wetroom or wet area will help you to ensure that you achieve the best results.
Firstly, the floor needs to be prepared to the relevant British Standards before tiling.
To prepare the room for tanking, the floor and work area must be clean and completely dry. Remove any sharp lumps or bumps, which may damage or puncture the tanking membrane.
Impey’s WaterGuard Tanking Kit comes with a primer, which you’ll need to apply to all porous surfaces that will be covered by the membrane.
Remember, if you’re installing a non-porous wetroom floor former, like the Impey Aqua-Dec EasyFit or Aqua-Dec Linear there’s no need to prime it!

Step 2: Corners First
Water loves to sneak in at junctions. Impey has solved this issue by supplying pre-formed internal and external corners.
It is important to be as precise as possible throughout the installation of the corners. Shaun recommends removing the backing covers one at a time, then peeling the backing off ‘little by little’ and gently pressing the corners into place. Smooth each corner down to make sure there are no bubbles or creases!
Step 3: Tape Up the Joints
Next up, it’s time for tape! You’ll need to run jointing tape along all wall-to-floor junctions and up any vertical corners.
Cut the tape to size and, beginning from the top, gently peel back manageable sizes of the backing paper and smooth down the tape by hand until it overlaps the layers of the floor junction. Repeat this process until all wall sections are defined.
Top tip: releasing the backing paper in small stages will help in the process and allow for any minor adjustments.
Step 4: Mounting the Membrane
Now for the main event, creating a watertight layer over the whole wetroom area with the tanking membrane. Read the instructions carefully before you start this step!
Most fitters start with the walls first, so there is less chance of damaging the floor membrane later in the installation process. Line the WaterGuard tanking membrane up with your tape, remove the backing paper bit by bit, and press it down firmly as you go.
Avoid any annoying air bubbles by smoothing them out carefully as you apply the membrane.
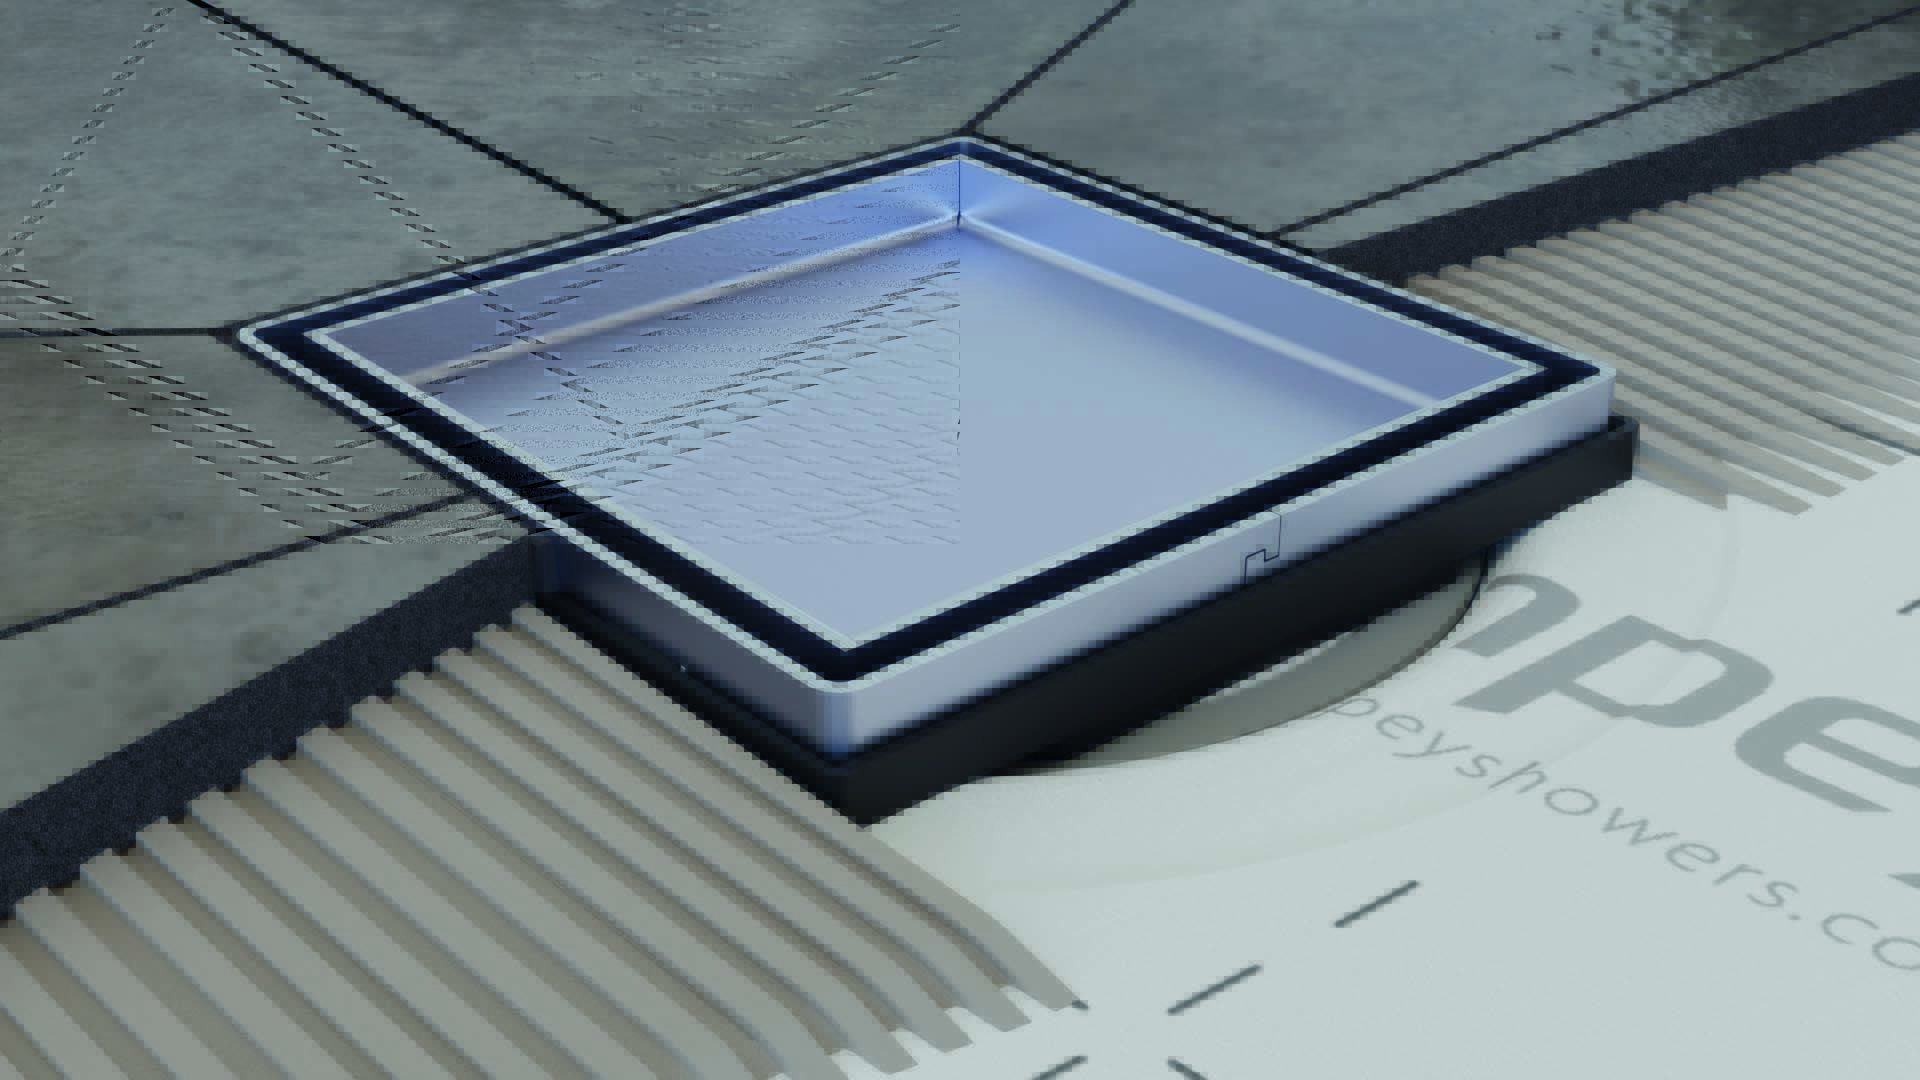
Once the walls are finished, move on to the floor and follow the same process. When you get to the drain area, cut neatly around it using a hook blade, and press the membrane into the dish and reattach the clamping ring by hand.
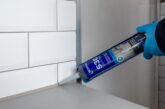
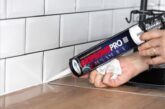
Step 5: Seal the Deal
Now seal everything up. Run flexible waterproof sealant along all the wall-to-floor junctions and over any gaps. The sealant will stay a bit tacky, which is good; it keeps everything leak-free over time.
You’re Ready to Tile
And that’s it. Your installation is now watertight! One of the perks of using Impey’s WaterGuard tanking kit is that there’s no waiting around. As soon as it’s down and sealed, you can crack on with tiling. Just make sure to use flexible adhesive and grout that can cope with a bit of movement.
Final Thoughts
Construction can be full of little things that can go wrong. But wetroom waterproofing is something that you can 100% control.
Next time you’re fitting a wetroom, remember, don’t rush the tanking. Take your time and follow all the steps. Because a properly waterproofed wetroom isn’t just a job well done, it’s a job that will last for the lifetime of the installation.
If you want to brush up on your tanking techniques, Impey offers a variety of free training resources; from step-by-step ‘How to’ videos, to regular online installation training.
To find out more about Impey’s market-leading wetroom solutions visit: www.impeyshowers.com.
For more information about free installation training go to: www.impeyshowers.com/training.
And lastly, you can watch Impey’s ‘How to Install Wetroom Tanking’ video here: How to install wet room tanking.