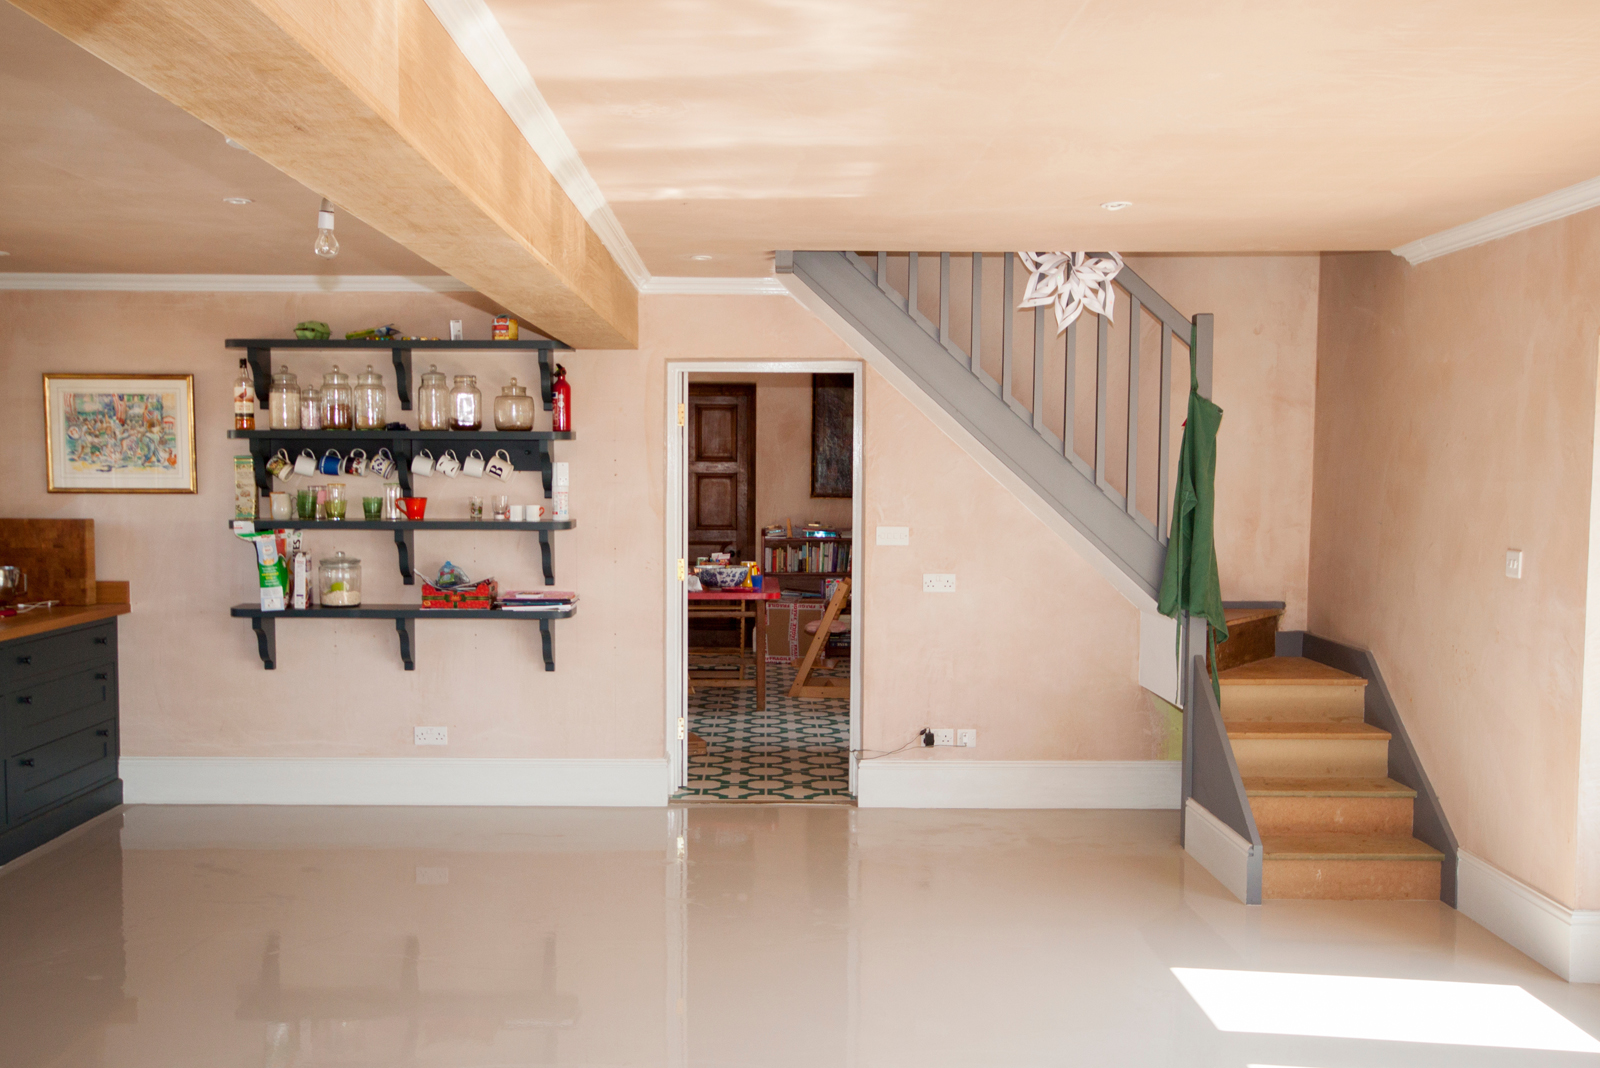
Luxury vinyl tiles (LVTs) are very much in vogue and Setcrete has the solutions for a successful installation.
Luxury vinyl tiles (LVTs) have grown enormously in popularity over the years, particularly for kitchen and bathroom floors. They offer a high-quality floor finish that is easy to maintain and are available in an abundance of designs and looks. Indeed, LVTs can be produced to mimic the appearance and feel of materials such as wood, stone or ceramic tiles.
However, to ensure the finished appearance of an installed vinyl floor lives up to its ‘perfect world’ showroom setting it is crucial that the subfloor base is perfectly smooth and level, free from imperfections such as ridges, dents and undulations.
Thin vinyl tiles are particularly susceptible to subfloor imperfections showing through, which is not something you want if you’ve just spent hundreds, if not thousands, of pounds on designer flooring.
Levelling compound
The simplest and fastest way of achieving a smooth, level surface is to use a purpose-designed levelling compound or ‘latex’ as it’s often referred to.
If the kitchen or bathroom has a standard sand/cement screed a general-purpose levelling compound will give you the result you need, bearing in mind that different brands may perform better than others, especially in their ease of application, flow properties and self-levelling characteristics.
The levelling compound should normally be applied between 2mm to 10mm thick (depending on the manufacturer’s recommendation) and should naturally settle to achieve a smooth finish, requiring only minimal work with a smoothing trowel.
Flexible subfloors
For flexible subfloors, such as plywood, that you might have in the upstairs bathroom of a house, a general-purpose levelling compound won’t be able to withstand the slight, but inevitable flexing of the floor as it is walked on. Over time the levelling compound will crack and eventually break up.
Fortunately, high performance, fibre-reinforced levelling compounds have been developed for this very purpose. The tiny fibres in the mix work in a similar way to steel rods in reinforced concrete, holding the cured compound together as it is subject to slight movements in the subfloor.
Such flexible levelling compounds can normally also be applied over a variety of subfloor types, including sand/cement and concrete, as well as non-absorbent subfloors such as quarry tiles, epoxy and polyurethane resins. This adaptability means that adjacent floor types can be levelled in one go using a single levelling compound to ensure a consistent and uniform finish.
Time is of the essence
When time is tight, such as on truncated build programmes, or where it is more convenient to complete the entire flooring installation in a single day, fast-track levelling compounds offer a high quality solution. The fastest compounds on the market are ‘walk on hard’ from 30 minutes after application and ready to receive a floor covering in as little as two hours. Conventional, general purpose levelling compounds normally need to be left until the following day before a floor covering can be installed and will require 2-3 hours before they can be walked on.
A further fast-track option is available for refurbishment installations where old floorcoverings have been removed leaving adhesive residues. Normally this residue needs to be removed mechanically, adding time and expense to the job.
However, specialist levelling compounds have been developed to be applied over old adhesive residues (including bitumen and carpet tile tackifiers) and without the need for priming. Avoiding these two, normally necessary, stages in the refurbishment process saves both time and cost for a builder.
Prime importance
Not having to prime a subfloor before applying a levelling compound is an exception, rather than the rule. Priming is normally crucial. It facilitates the bonding of a levelling to the subfloor and avoids unacceptably fast drying of the levelling compound when it is applied over absorbent subfloors. Without priming the integrity of the levelling compound would be compromised.
Equally, if not more important than priming, is the need to check for and manage excess subfloor moisture before the start of the floor preparation. Excess moisture is the most common cause of flooring failures.
This is because moisture in the screed will rise to the surface and then become trapped under the floorcovering that has been installed. With nowhere to go, the moisture will attack the adhesive used to adhere the vinyl to the floor, resulting in ‘blistering’ or tiles lifting.
In older homes, the cause of moisture may be rising damp or water ingress. In new homes it is likely to be residual construction moisture in the screed (a sand/cement subfloor dries at an approximate rate of 1mm per day).
Measured in terms of relative humidity (RH), moisture content of a subfloor must be below 75 per cent RH (this is reduced to 65 per cent where wood flooring is being installed). Excess moisture cannot be determined visually or by touch or smell. The only sure way of measuring the RH of a floor is by using a calibrated digital hygrometer. If excess moisture is detected, the application of a single-coat, epoxy resin damp proof membrane will provide protection up to 98 per cent RH.
Following these simple golden rules before installing LVT flooring and using the right levelling compound to create a smooth and level subfloor base will ensure the end result is not only aesthetically pleasing, but will stay looking great throughout the lifetime of the floor.
For further information on the range of solutions from Setcrete visit https://www.setcrete.co.uk/


