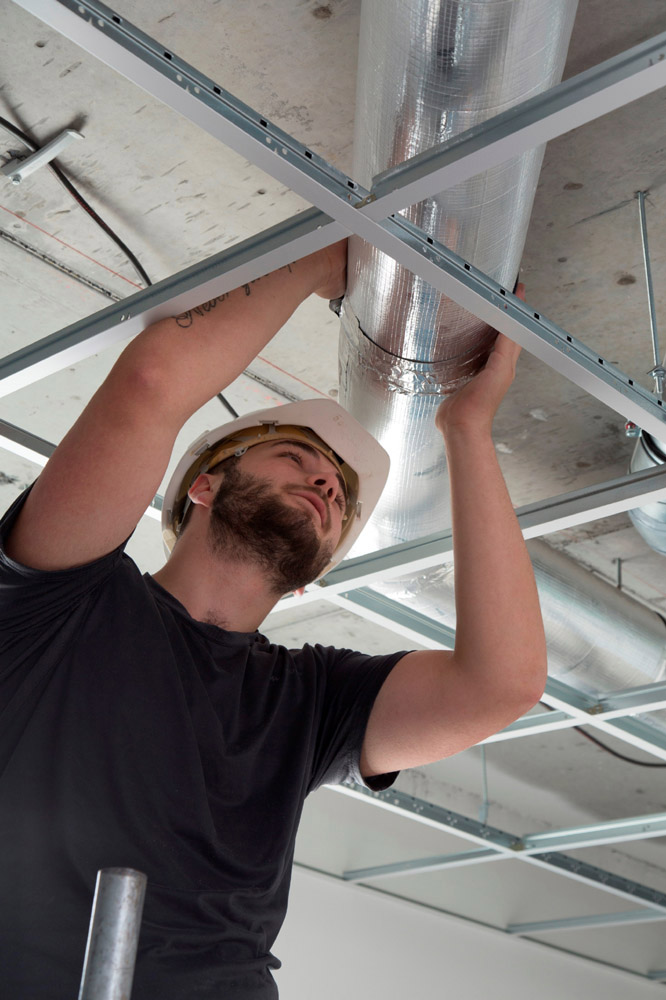
Anthony Barnett, technical marketing manager at Armacell, looks at fitting acoustic insulation.
Open-plan living, timber floors and more bathrooms has made internally generated noise one of the single most common bugbears of homeowners. However, fitting flexible insulation forms around rainwater and wastewater pipes is one of the best ways of dramatically reducing this noise. As a relatively inexpensive material, yet offering benefits that have a high perceived value with homeowners, it’s a great product to add to your portfolio.
Step 1
Cut the acoustic foam sheet to suit the circumference of the rainwater or wastewater pipe. Apply adhesive to the seams in a thin layer, allow to tack dry.
![]()
Step 2
Apply to the pipe and press together at the ends and then in the middle. Close the entire seam starting from the middle. Apply tape at intervals around the circumference of the pipe to hold in place.
As an alternative to sealing with adhesives, the foam can be fixed using steel wires at 10-15cm intervals.
![]()
Step 3
When fixing acoustic insulation to a 90 degree bend, download the appropriate template for each dimension from our website. Transfer the outline of the pieces to an ArmaComfort sheet and cut out.
![]()
Step 4
To create the 90 degree bend, install the throat pieces, then the back section, before covering with the recommended tape.
![]()
![]()
![]()
Step 5
Job done.
![]()
Independent tests show that acoustic foams are able to reduce airborne sound pressure levels of a Geberit roof drainage system by 16 dB (A) at 2 l/s water flow. Similar tests on a PVC pipe, where the vibrations caused by flowing water are stronger because of the lighter weight PVC, achieved a noise reduction of 12 dB. To put this in perspective, the human ear perceives a reduction of 10 dB as halving the volume!


