Keith Dyson, National Technical Sales Manager at Hansgrohe, looks at how builders can delight clients through a single source specification approach to bathroom spaces.
Bathrooms are important living spaces, with developers and homeowners striving for an unbeatable combination of functionality, performance, and striking aesthetics to match the investment level across one or more bathroom projects.
By opting for a co-ordinated specification strategy; one that supports the building of a bathroom vision and collaborating with bathroom experts who can supply multiple aspects for a new or refurbished bathroom, the trade can benefit from installation and time saving advantages, as well as pleasing clients with a fully harmonised finish.
With pressure often on to complete jobs as quickly as possible, single source also help critical aspects, such as product supply, become more streamlined, and provides the assurance the trade seeks that products will be available as required to keep installation timescales on track. No more dealing with a multitude of companies, just the timesaving benefit of a single point of contact.
Builders also need to be mindful of supporting customer confidence through meaningful product warranties and spare part availability. Opting to work with suppliers who have a proven record in both areas can help reassure customers on the longevity of the product installed and the availability of spare parts, should they be required in the future.
Co-ordination in action
An often-overlooked factor is the possibility of disparate product finishes which can occur when mixing a variety of brand solutions. The beauty of working with a specialist bathroom supply partner is that it opens access to a complete bathroom vision, as well as ceramics, brassware, furniture, mirrors, and accessories, which have been designed to work seamlessly together.
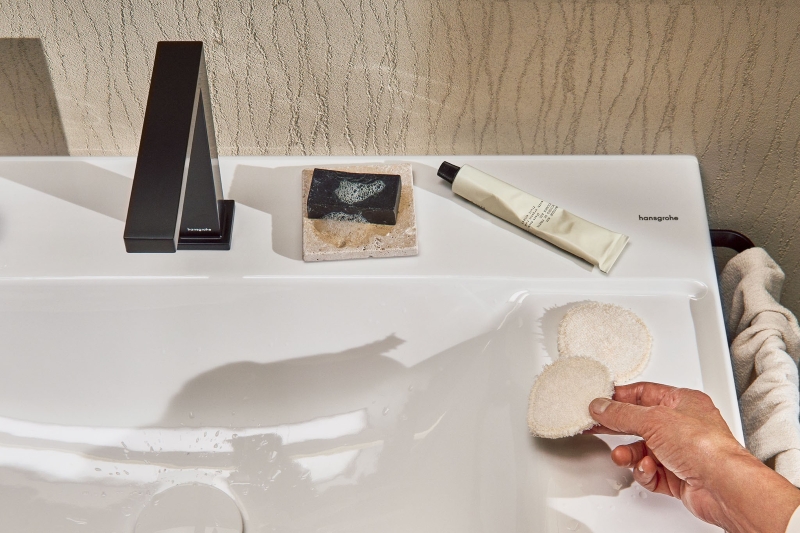
As an example of how this cohesive look can work in practice and combine ease of install with an impactful finish, hansgrohe’s Xelu Q vanity unit and basin has been paired with the Tecturis E two-hole basin mixer tap to give a combination of function, technology and style. The vanity unit offers a premium finish with innovative storage, while the basin mixer tap not only looks great but also features EcoSmart+ technology, designed to reduce water flow without compromising the way in which water is delivered to the end user.
Here, we take a look at how installing these two products can give clients a professional finish they’ll love. For this installation, the 780cm Xelu vanity unit has been used with the 800cm Xelu basin.
Installation Steps
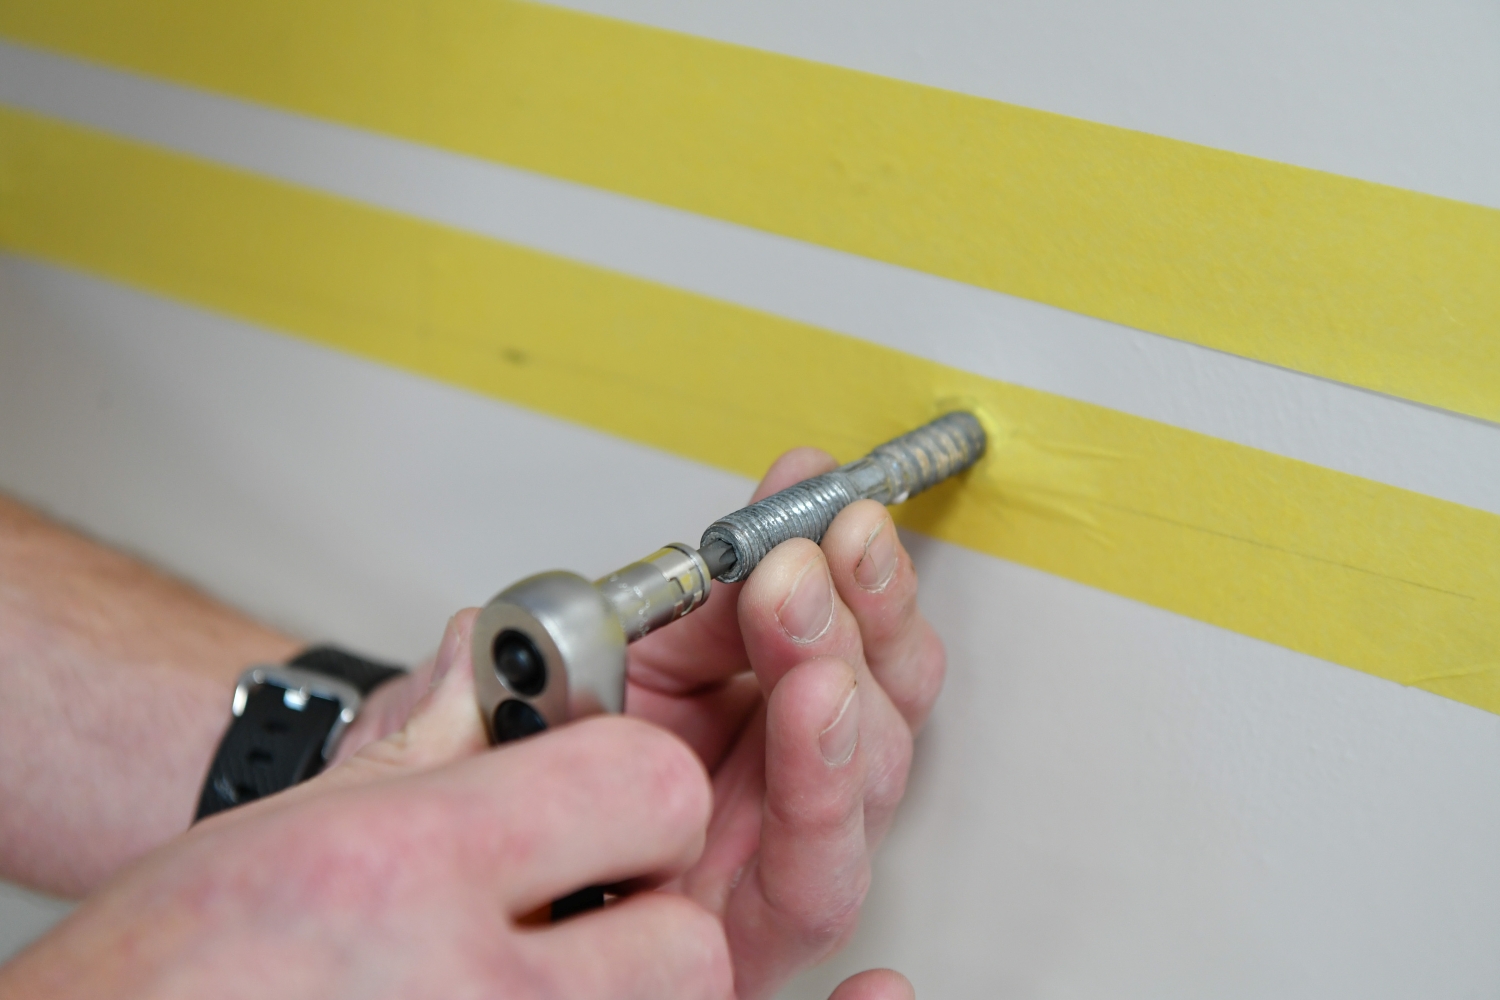
Step 1: Measure and mark installation points
- For this unit, measure 870mm from the floor and mark where the top of the basin will sit.
- Mark 55mm below for the fixing bolts.
- Find the centre line of the wall, then measure 280mm outwards to mark the locations of bracket holes.
- Use a spirit level to ensure all markings are accurate and even.
- Drill pilot holes at the marked bracket locations and insert dowel bolts. Remove any masking tape used.
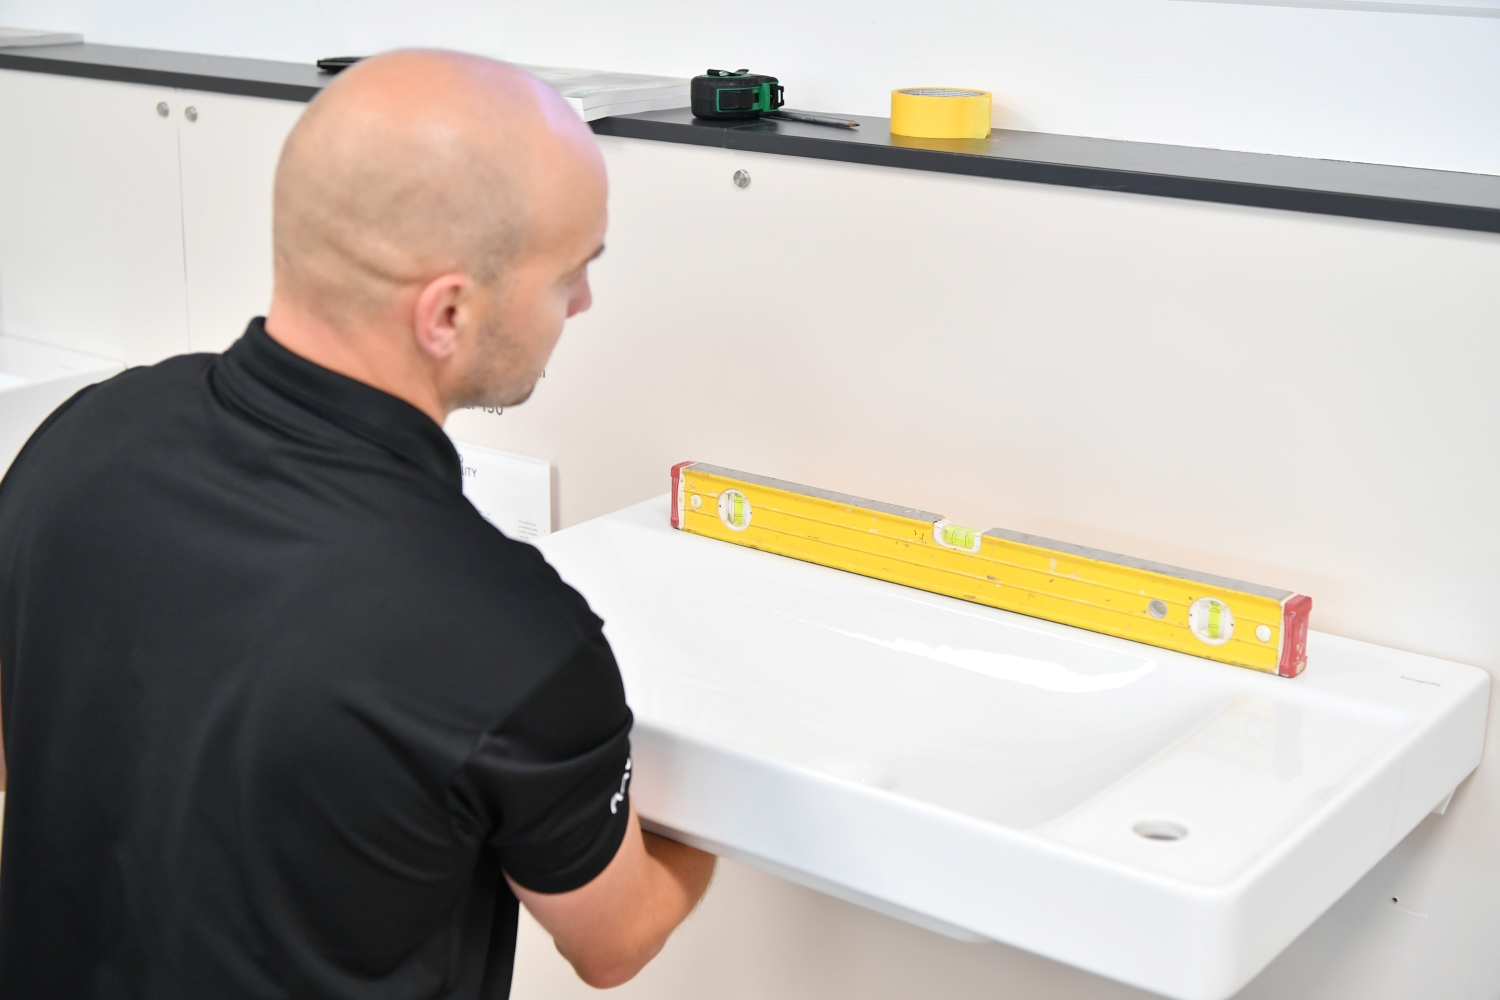
Step 2: Mount the basin and brackets.

- Attach anti-vibration pads to the back of the sink to prevent unwanted noise.
- Carefully slot the basin onto the bolts, ensuring it is level. Secure in place with washers and fixing nuts.
- Fit the supplied waste kit and plug.
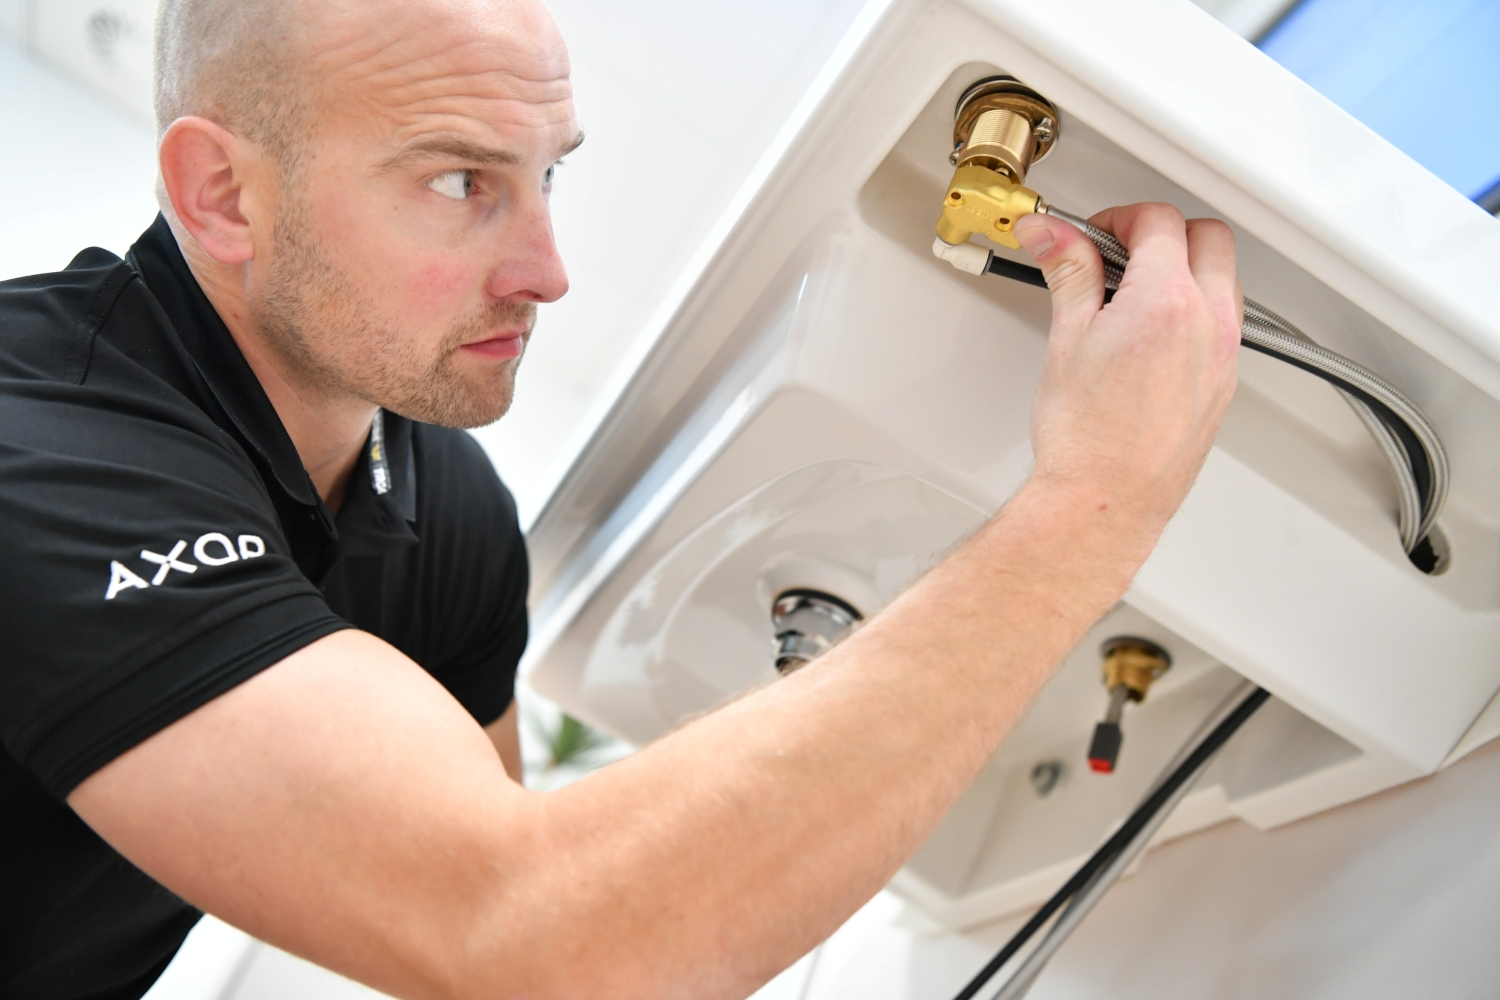
Step 3: Install the Tecturis E two-hole basin tap.
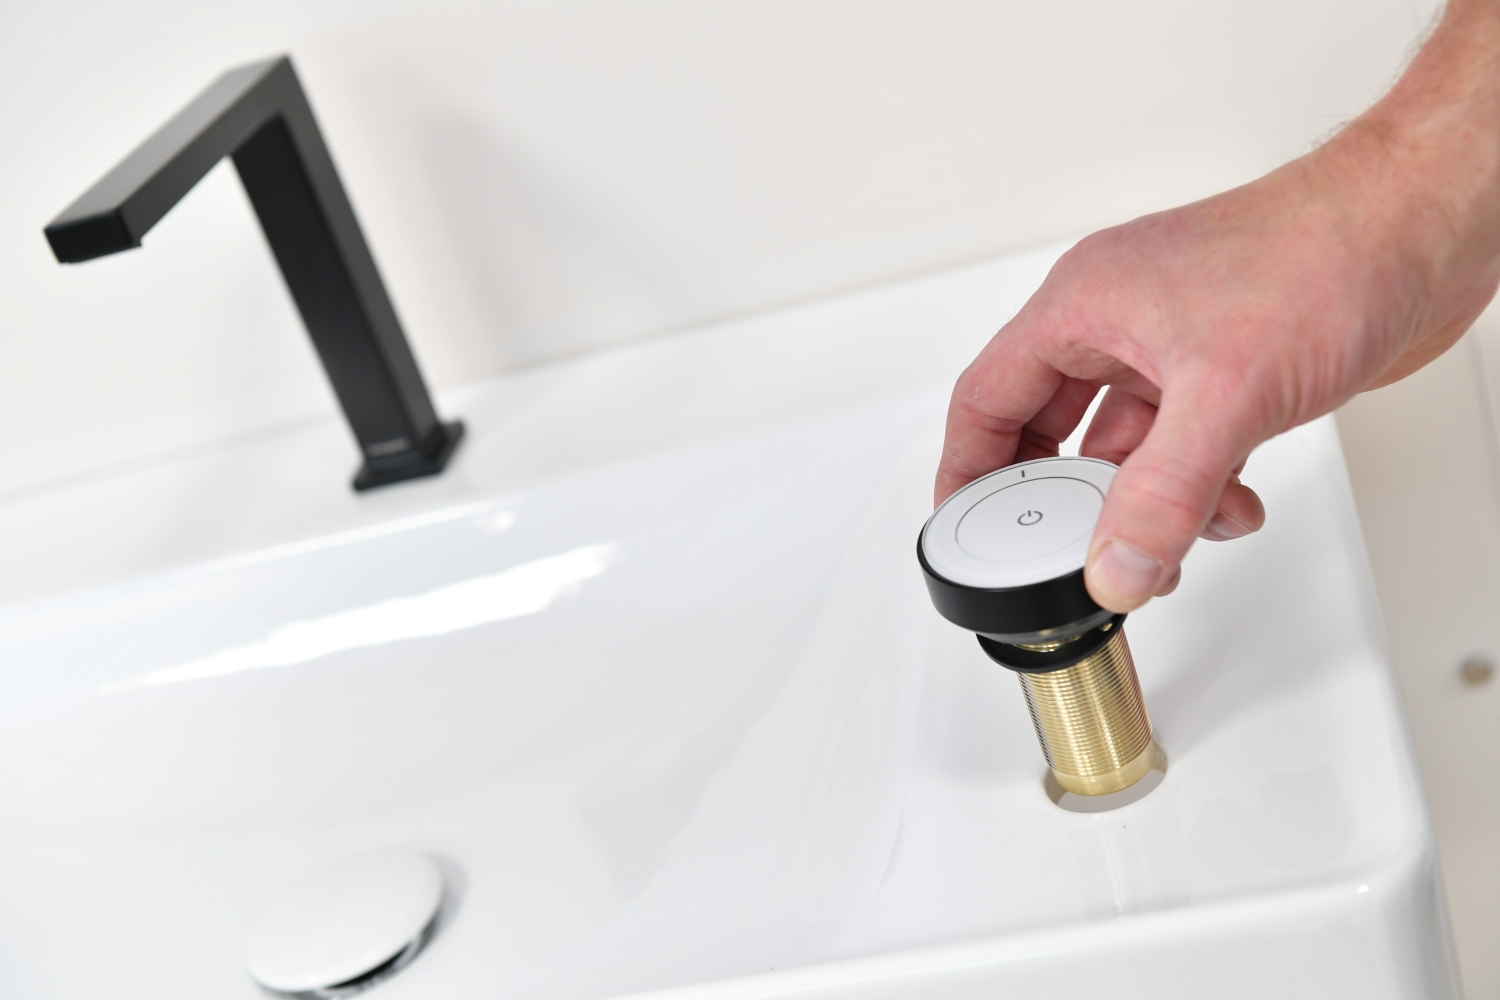
- Insert the Tecturis tap control through the pre-punched hole in the basin and hand-tighten the back nut. Lock it securely with a screwdriver.
- Feed the hot, cold, and mixer pipework through the underside of the basin’s pre-cut openings.
- Attach the pipe connector and secure it with screws. Push-fit the mixer hoses and snap into place securely.
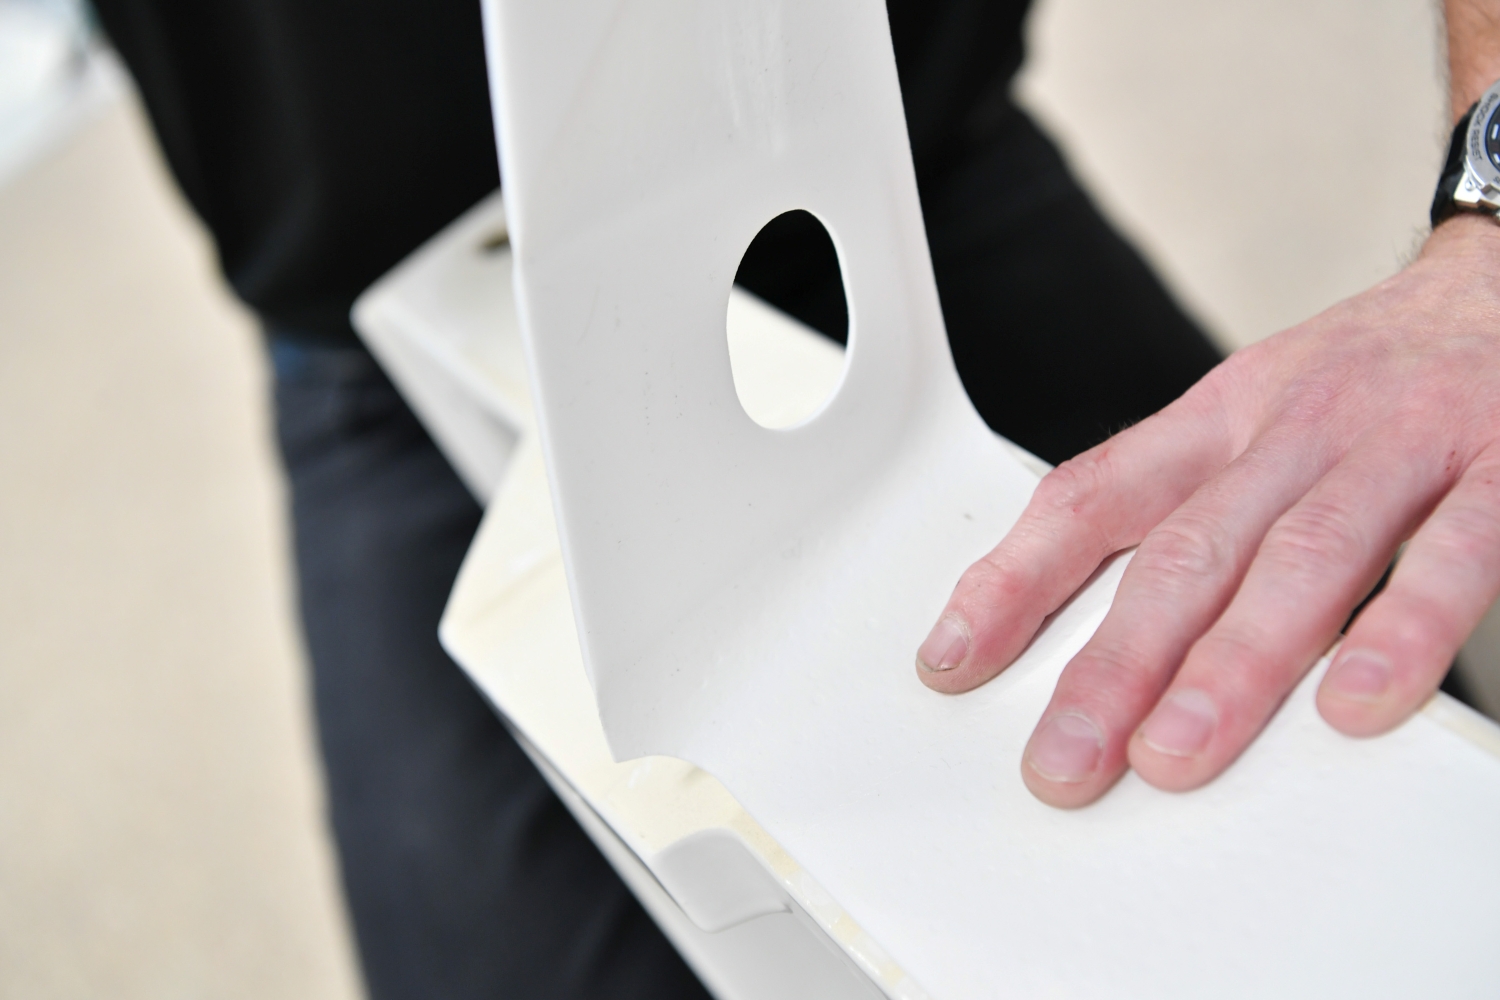
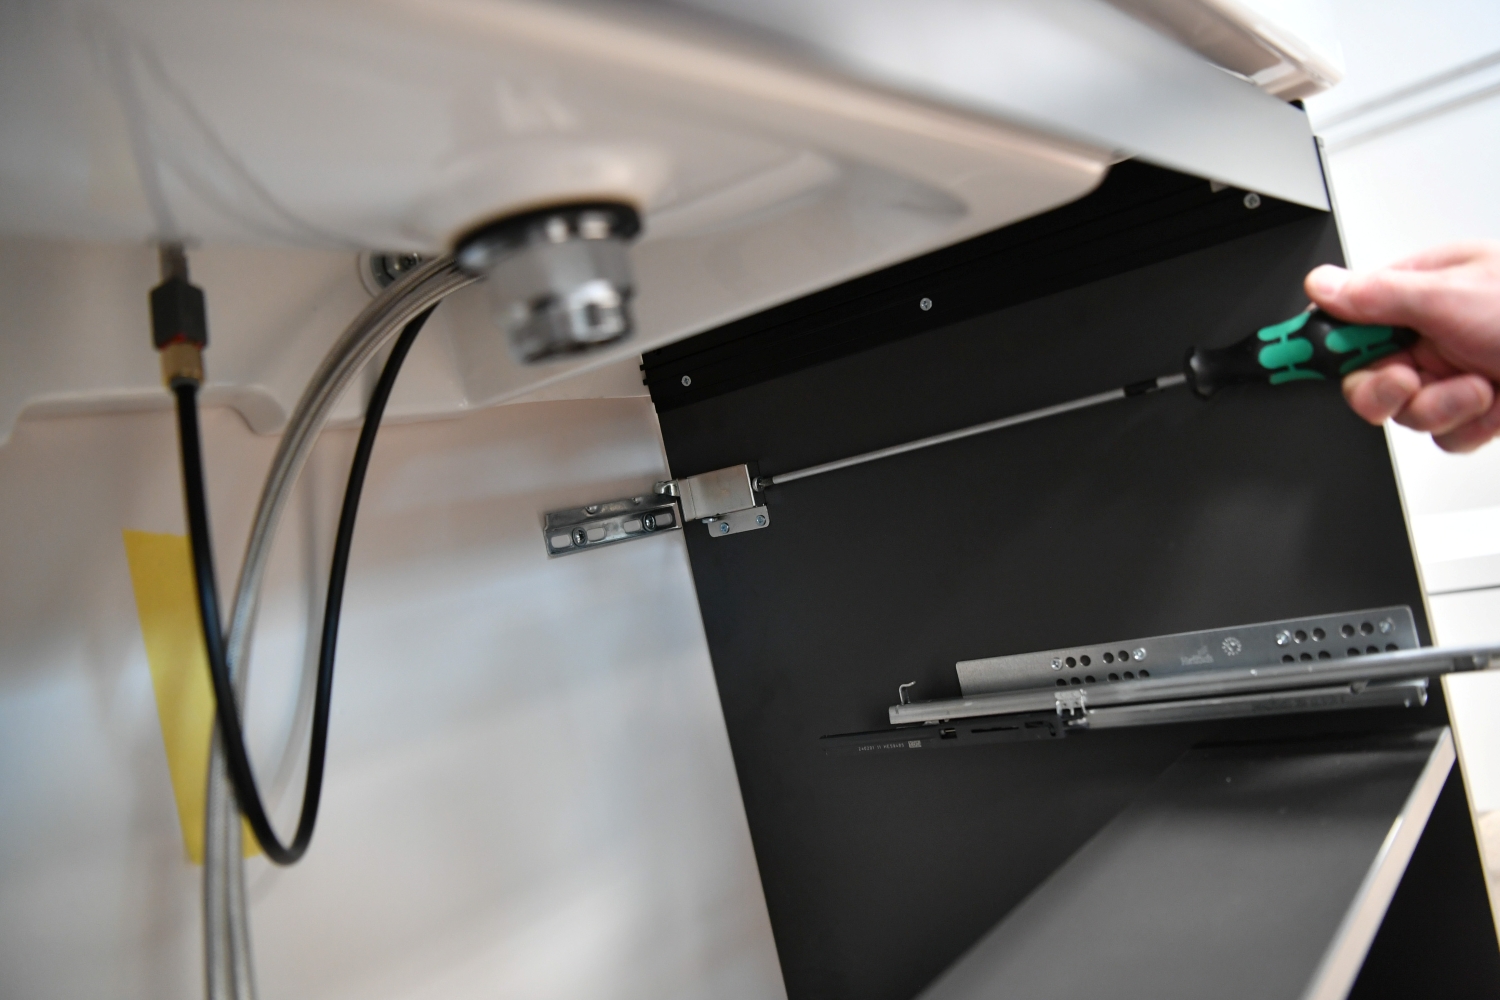
Step 4: Secure the wall unit.
- Measure 135mm under the edge of the basin to locate the unit bracket positions. Measure out from centre line 257.5mm to the inner holes and 357.5mm to the outer hole.
- Drill pilot holes for the wall brackets, ensuring they line up correctly.
- Mount the unit onto the wall brackets using the provided adjustment screws. Adjust the unit for perfect alignment using the included levelling mechanisms.
Step 5: Attach the functional accessories.
- Remove the unit drawers by pressing the grey retaining clips, which makes the interior accessible. Fit the unit on the wall brackets.
- Install the handles on the drawers with the provided screws, being careful not to overtighten.
- Position the drawers back onto their runners until you hear them click into place.
- Adjust drawer fronts to ensure alignment; fine-tune using the side wheels and tilt adjusters as needed.
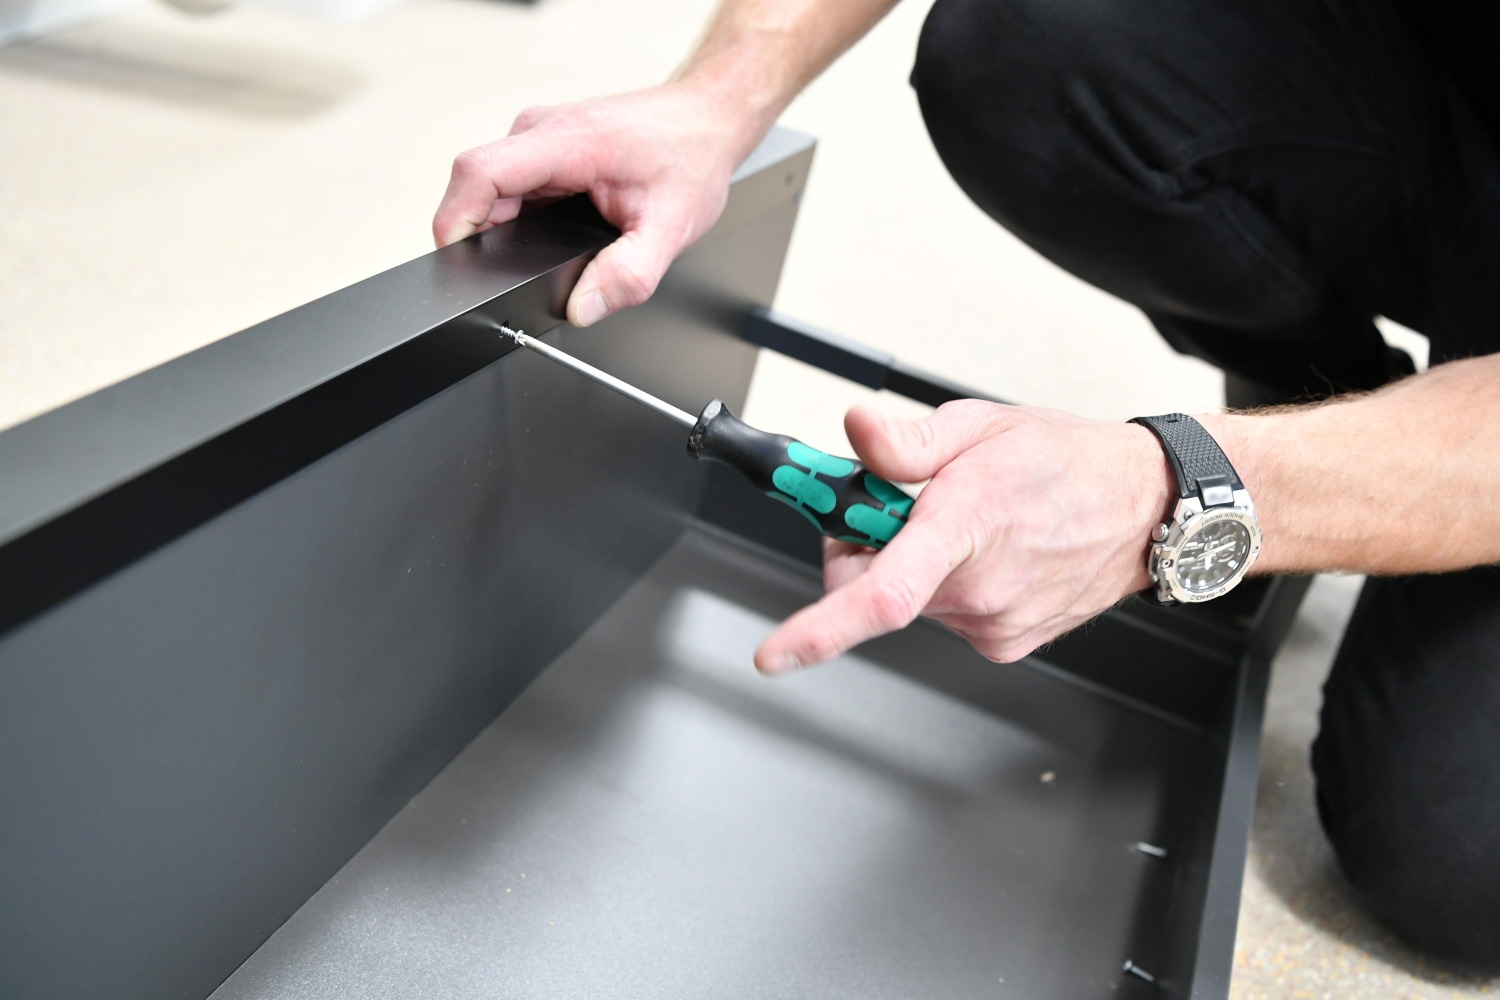
Step 6: Final adjustments and finishing touches.

- Double-check all connections for firmness and leak-proof performance.
- Ensure the basin’s control handle moves smoothly and test the water flow and temperature control.
- Silicone around the edges of the basin and wall unit for a secure, sealed finish.
- Wipe down the unit and basin to remove any dust or fingerprints – a clean final presentation goes a long way for client satisfaction.
Support at hand: free training and cash benefits
To help builders incorporate a range of innovative, striking, and top-quality bathroom products into construction products, hansgrohe offers face-to-face training support at its Installer Academy where free training sessions demonstrate how easy it is to install the company’s products.
Finally, builders who purchase and install hansgrohe products can also take advantage of the Talisman Loyalty Programme, which gives professionals the opportunity to gain points that can be transferred into cash benefits.
To find out more about Hansgrohe go to: https://www.hansgrohe.co.uk.