Kingspan provides a guide to successfully insulating a basement construction.
As with any major work, the first stop in a basement extension should always be to check the requirements in the Building Regs. For insulation, the requirements for basement walls and floors are the same as for any other external wall or ground floor. The table below shows the recommended U-values (thermal performance) for basement walls and floors depending on where the project is and whether you are extending or building entirely from scratch.
| England | Wales | Scotland | |||||
| New Build | Extension | New Build | Extension | New Build | Extension and Refurb A | Extension and Refurb B | |
| Wall (W/m²·K) | 0.16 | 0.28 | 0.16 | 0.21 | 0.15 | 0.17 | 0.22 |
| Floor (W/m²·K) | 0.11 | 0.22 | 0.11 | 0.18 | 0.13 | 0.16 | 0.18 |
[Column A is for extensions where the existing dwelling’s walls and roof U-values are worse than 0.70 W/m²·K in the walls and worse than 0.25 W/m²·K in the ceiling. Column B is for other extensions, upgraded existing thermal elements, non-exempt conservatories and conversion of unheated buildings]
As a basement is typically surrounded by earth, waterproofing is also a priority. Three options are recommended for basement extensions or new builds:
- Tanking System – This is a continuous waterproofing membrane which wraps around the outside of the basement structure, preventing groundwater from penetrating.
- Waterproofed Concrete – This uses a continuous layer of waterproofed concrete in the exterior construction to stop groundwater.
- Drained Cavity & Damp-Proof Membrane (DPM) – A drainage system where moisture that seeps through a wall into the cavity is collected and channelled away. The DPM together with the drained cavity prevents any water getting into the basement.
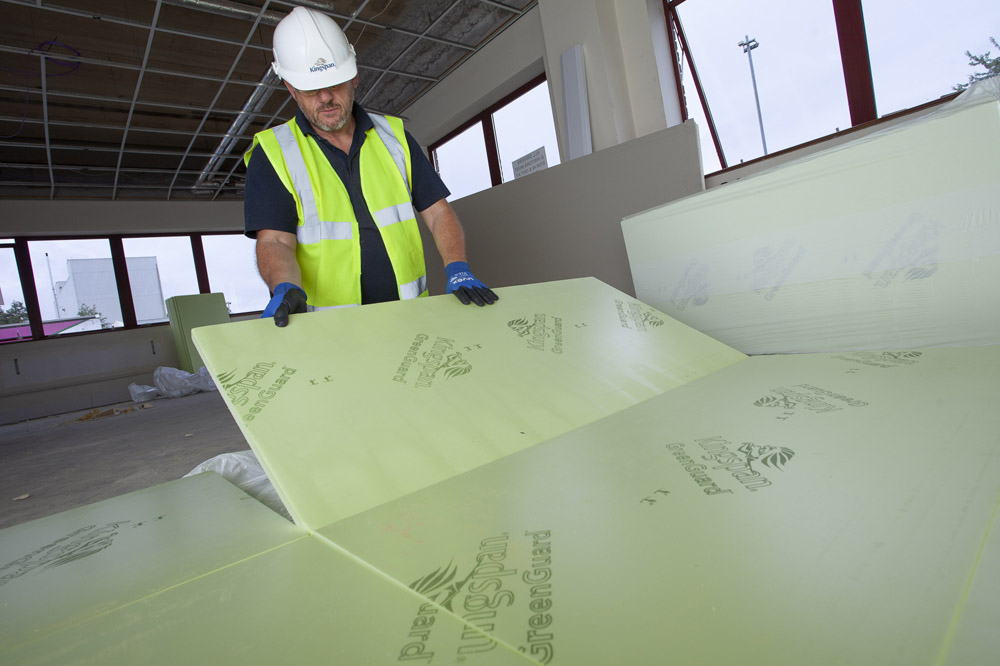
Whichever option you choose, it is important to also use an insulation that will resist moisture. As a closed cell material, extruded polystyrene insulation (XPS) provides this resistance in addition to excellent compressive strength. This makes the boards ideal for use in cellars.
In practice
Let’s take a step-by-step look at how you can install XPS insulation in a typical cellar. This covers the key points of a typical application but if you are unfamiliar with this type of work, we’d always recommend you get professional advice before you begin.
Drainage
- Start by fitting filter drains around the perimeter of the basement. These are perforated drainage pipes surrounded by course gravel and need to be fitted 200 mm below the basement floor level. A geotextile membrane should also be laid around the gravel to prevent fines blocking the drain.
- Depending upon ground conditions, the drains can be connected to surface drainage systems or soakaways.
Installation below a floor slab
- The site should be prepared and foundations, where appropriate, built to damp proof course (DPC) level.
- A thin sand blinding can be used to level the surface of the hardcore.
- Next, you can either lay a DPM (min 300 micron / 1200 gauge with joints well lapped and folded) directly over the compacted hardcore followed by insulation boards or vice-versa.
- The membrane needs to be laid under both the basement wall and a triangular shaped piece of insulation placed between the concrete slab and the outside of the basement wall (see figure 1) and lapped by 300 mm under the basement wall tanking membrane.

- The insulation boards should always be loose–laid break–bonded, with the joints lightly-butted. You can cut the XPS boards to fit using a fine-toothed saw.
- If you need two layers of insulation, then it is best to offset the joints (see figure 2).
Figure 2 – Offsetting insulation layers.
- A strip of insulation board (min 20 mm thick) should be fitted vertically around the perimeter of the floor slab to stop cold bridging. The top of this strip should be level with the top of the floor screed and the bottom level with the bottom of the horizontal floor insulation (and closely butted up to it).
- If the DPM is laid directly onto the hardcore, the insulation boards should be overlaid with a polythene sheet (not less than 125 micron / 500 gauge). This will stop wet concrete getting into the joints and acts as a vapour control layer. The polythene sheets should have 150 mm overlaps and be taped at the joints.
- The concrete slab and screed (or other flooring) can then be installed like a typical un-insulated floor and should be allowed to dry before the floor finish is installed.
- If you’re using reinforced concrete as the main structure of the basement, waterstops must be fitted at the junctions where day joints have been made in the structure to prevent water leakage.

Basement walls
- First, apply a tanking membrane to the external face of the basement wall and lap this with the floor membrane as described above.
- You can then fit the insulation boards outside this membrane.
- A cavity drainage membrane or layer of washed no fines gravel should be used outside of the insulation boards to allow drainage. This is covered with a geotextile layer to prevent fines from blocking the drainage material.
- Finally ensure the ground around the structure slopes away from the basement wall so that rainwater drains away from the building.


