Quickslide’s Ade addresses the critical subject of surveying.
![]()
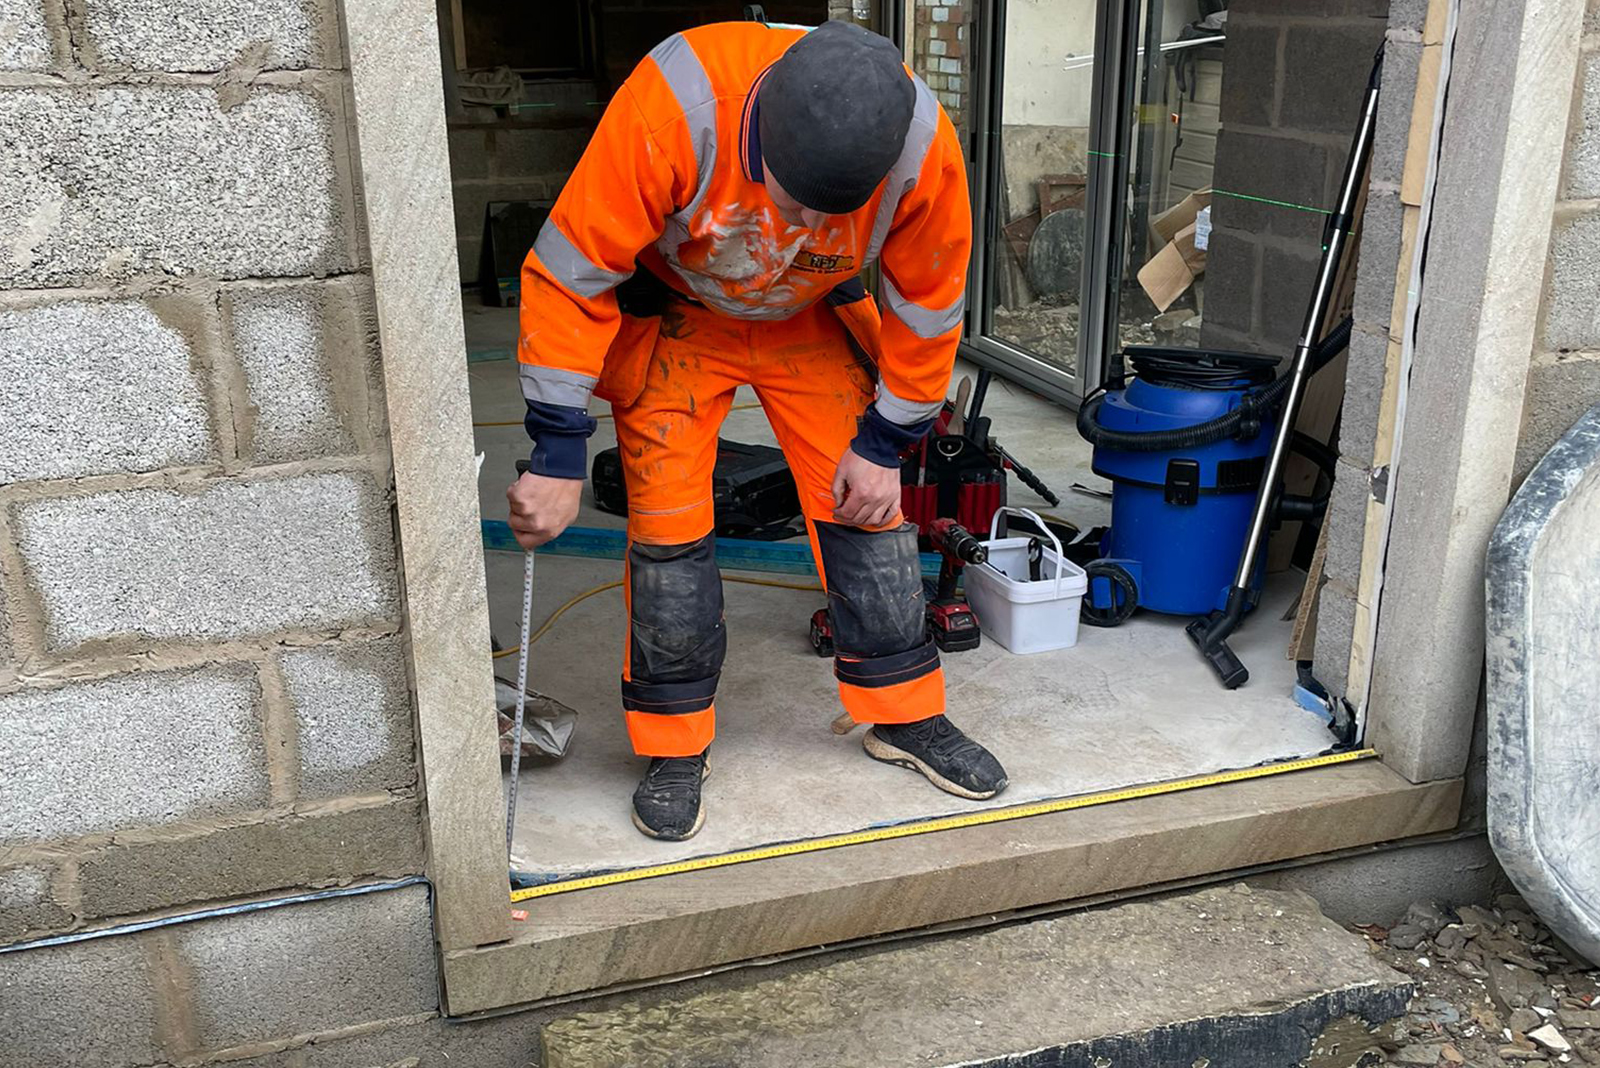
This is the window and door equivalent of measure twice, cut once. And the first step upon which every window and door installation can succeed or fail. Silicone is used far too copiously when, rather than being used as a trim, it is applied as a filler because of poor measuring and specification. Get the surveying right and everything else should drop into place – literally. Get it wrong, and any profit from the job will join your reputation down the pan.
Follow these basics on every job and it will become ‘muscle memory’ to carry them out every time:
- When surveying, it’s important to explain the process to the homeowner – explain why they may need different extras so that nothing comes as surprise.
- Check there are no structural defects to the aperture
- Allow 10mm for expansion – any material, any window and any door.
- Measure three different points vertically (top middle and bottom) and two points horizontally. Find the narrowest point and still deduct 10mm.
- Check across the diagonals to confirm the aperture is square
- For larger apertures, such as for bi folds, set up a laser level and measure from the laser line at each end, then from the top to the laser line to see if they are plumb/level, or what will be required to make it level and get the door size right. And as always with aluminium, there is no margin for error!
- If the window is set back behind the outer skin of the stone (‘in check’) add 20mm to the total width of the window.
- Be aware that if the internal windowsill is less than 800mm apart from the finished floor. The glass must be toughened. If you have a window seat or perhaps even a bath (something that is fixed near to the window) you must measure from the height of that.
- On renovations, you must check on the heads of the stone or brickwork that there is a single leaf lintel in place to carry the bricks or stone work. If there isn’t you must install one.
- On renovation projects you will need to measure both internally and externally. If there is a large difference between the internal and external measurements (+30mm) you will have to use the smallest measurement and allow for an add-on to be included onto either the top, bottom or even the sides depending on whether the difference is caused by the internal windowsill height, internal head height, tiled walls etc. The add-on will appear as an external window ‘extension’ filling the gap caused by the differing internal and external measurements. You should only ever have about 10mm hidden in plaster or timber work internally.
- Be aware of Building Regs, especially Part B (Fire Safety) for Egress. All bedrooms must have escape hinges, for example.
- New builds – you may need trickle vents, and make sure you can provide proof that the product specification has been tested to PAS 24:2016; any reputable manufacturer will offer a comprehensive PAS 24 security upgrade.
- Laminated glass – See Document Q for regulated use of laminated glass
- And always double check your measurements…again!
Bear in mind that the new Building Regs have been published at the time of me writing this, and there are some updates on PAS24 although nothing to affect the advice given here. Nonetheless, you must become familiar with the amended Regs for when they become mandatory in June.
For more information on Quickslide visit https://www.quickslide.co.uk/


